How to Make a dApp in 2026: A Practical Step-by-Step Guide
On this page
- How to make a dApp: the short version
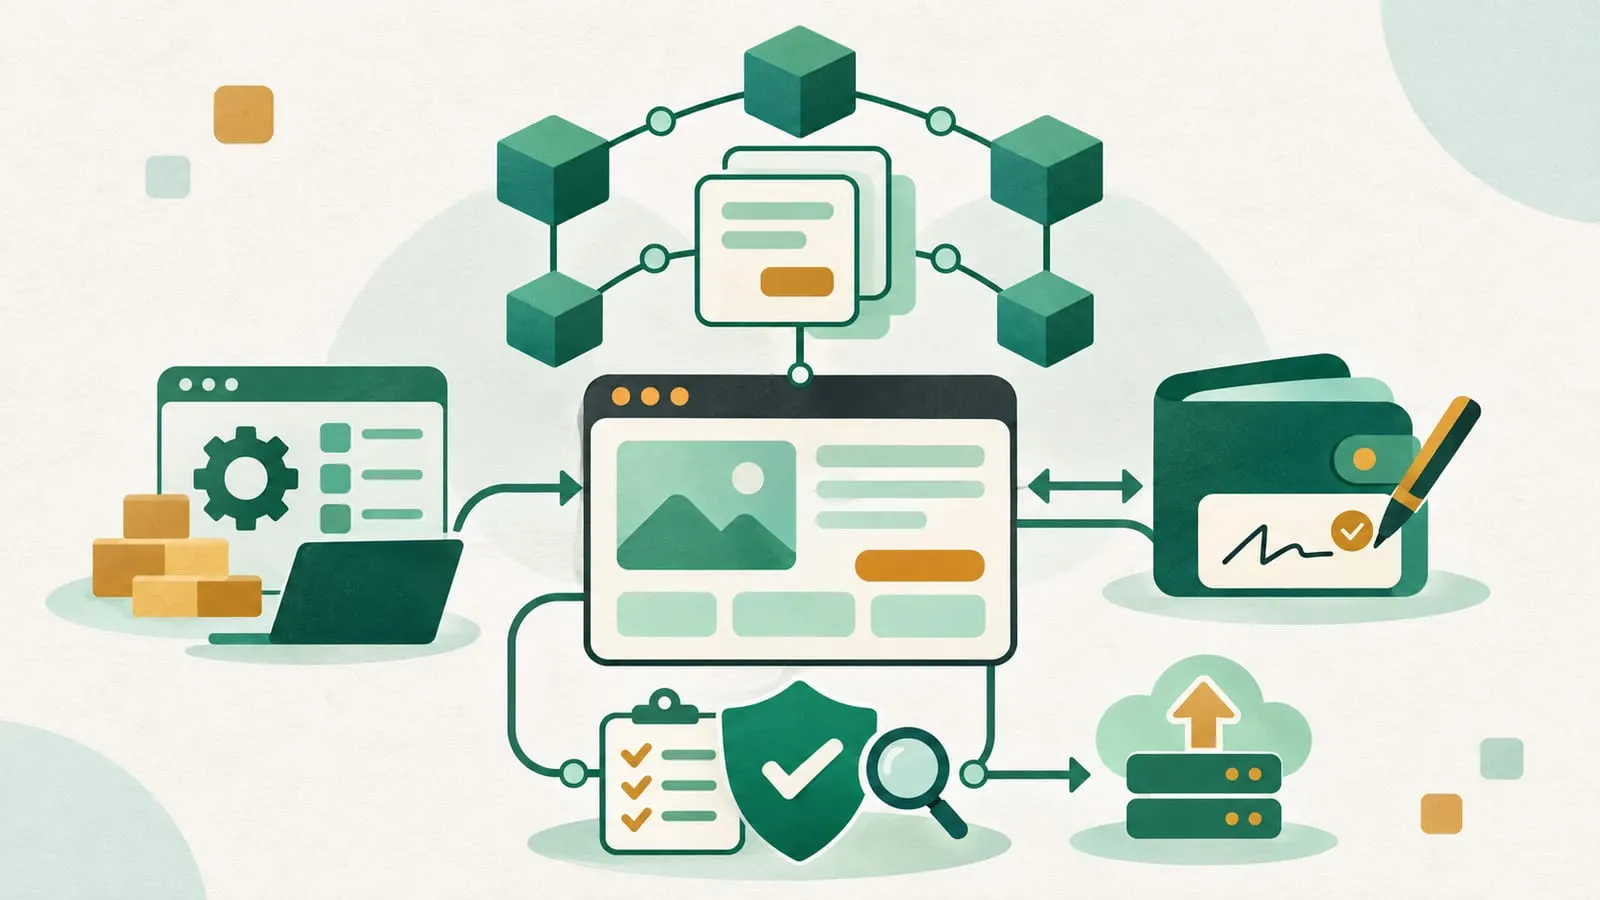
- How a dApp is put together
- Step 1: decide what you’re building and where
- Step 2: set up your environment
- Step 3: write the smart contract
- Step 4: test locally
- Step 5: deploy to a testnet
- Step 6: build the front end
- Step 7: audit, launch and maintain
- What it costs
- Risks and common mistakes
How to make a dApp: the short version
A dApp (decentralized application) is a normal website or mobile app whose core logic runs in smart contracts on a blockchain. To make one you: pick a chain, write the contract (usually in Solidity), test it locally with Foundry or Hardhat, deploy it to a testnet such as Sepolia, build a front end that talks to the contract through the user’s wallet, and only then deploy to mainnet or a layer 2.
This guide walks through those steps with the tools that are current in November 2026. It assumes you can write some JavaScript or TypeScript. If you are still deciding whether to build at all, our Q&A on whether anyone can build a dApp is a gentler starting point.
How a dApp is put together
| Layer | What it does | Common choices in 2026 |
|---|---|---|
| Smart contracts | Hold state and enforce the rules (balances, votes, trades) | Solidity (0.8.x), Vyper; OpenZeppelin Contracts for standard pieces |
| Development toolchain | Compile, test, deploy, verify | Foundry, Hardhat 3 |
| Blockchain access | Read data and send transactions | An RPC endpoint from your own node or a provider |
| Front end | The interface users see | React or Next.js with viem and wagmi |
| Wallet | Holds the user’s keys and signs transactions | Browser and mobile wallets such as MetaMask and Rabby |
| Indexing and storage (optional) | Fast queries over past events; files too large for the chain | An indexer or subgraph; IPFS or similar for files |
The key difference from a normal web app: there is no user database or password. The user’s wallet signs each transaction, and the contract checks the signature. Anything your contract stores is public and, once deployed, the code generally cannot be edited. Our explainer on dApps vs smart contracts unpacks the distinction.
Step 1: decide what you’re building and where
Before writing code, answer three questions:
- Does it need a blockchain? Use one when users need to hold assets themselves, verify rules without trusting you, or interact with existing DeFi protocols. A to-do list does not.
- Which chain? Ethereum mainnet has the most security and liquidity but higher fees. Layer 2 networks such as Arbitrum, Optimism and Base run the same EVM with much lower fees, so most new consumer apps launch there. Other EVM chains work with the same tools; non-EVM chains such as Solana need different languages and tooling. See alternatives to Ethereum for building dApps.
- What must be on-chain? Keep contracts small. Store only what needs to be trustless; put images, text and heavy computation off-chain.
Also think about legal questions early, especially if the app handles other people’s money, issues a token or targets regulated activities.
Step 2: set up your environment
You need Node.js (Hardhat 3 requires v22.13.0 or later), a code editor and Git. Then choose a toolchain.
Foundry
Foundry is a Rust-based toolkit made of four tools: forge (build, test, deploy), cast (talk to contracts and chains from the command line), anvil (a local Ethereum node that can fork mainnet) and chisel (a Solidity REPL). It reached v1.0 in February 2025; the latest stable release in mid-November 2026 was v1.9.0.
curl -L https://foundry.paradigm.xyz | bash
foundryup
forge init hello_dapp
cd hello_dapp
forge build
forge test
Hardhat 3
Hardhat is a Node.js development environment with a large plugin ecosystem. Version 3 (released in 2025; 3.22 was current in November 2026) supports tests written in Solidity (.t.sol files) as well as TypeScript, uses viem in its default toolbox, and deploys with Hardhat Ignition modules.
npx hardhat --initStarter kits. If you want contracts and a working front end wired together from the start, Scaffold-ETH 2 (npx create-eth@latest) generates a Next.js app with either Foundry or Hardhat underneath.
Avoid outdated tutorials. Many older guides use Truffle and Ganache, which Consensys sunset in 2023, or the Goerli testnet, which no longer exists. If a guide uses them, it will not work as written.
Step 3: write the smart contract
Start from a small, well-understood contract and build up. A few habits that save pain later:
- Use a recent Solidity 0.8.x compiler, which reverts on integer overflow by default.
- Reuse audited building blocks such as OpenZeppelin Contracts for tokens (ERC-20, ERC-721), access control and pausing, rather than writing your own.
- Emit events for every important state change; your front end and indexers will rely on them.
- Decide up front whether the contract is upgradeable. Upgradeable proxies let you fix bugs but give whoever holds the upgrade key a lot of power, which users should be told about.
Our guide on how to create a smart contract covers contract writing in more depth.
Step 4: test locally
Write tests before deploying anywhere public:
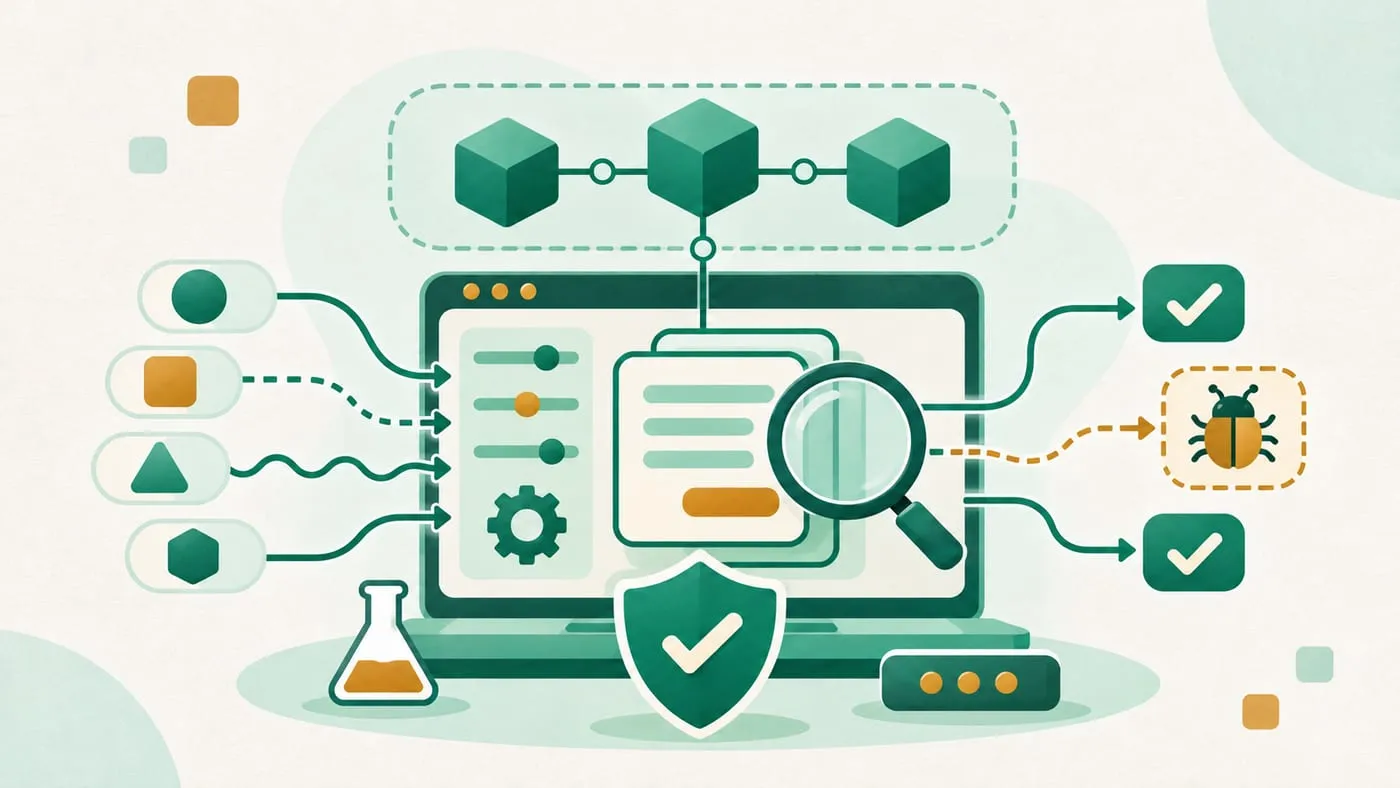
- Unit tests for every function, including the failure cases (
forge test, or Hardhat’s Solidity and TypeScript test runners). - Fuzz tests, which Foundry runs out of the box, to throw random inputs at your functions.
- Fork tests against a copy of mainnet state (
anvil --fork-url <RPC>), useful if your dApp calls existing protocols like a DEX or lending market.
Run static analysis tools as well. Most serious exploits come from logic errors, access-control mistakes, oracle manipulation and reentrancy; see our overview of smart contract vulnerabilities.
Step 5: deploy to a testnet
Ethereum.org calls Sepolia “the recommended default testnet for application development.” Hoodi is for validator and protocol-upgrade testing, and Holesky was deprecated in September 2025. Layer 2s run their own testnets that settle to Sepolia.
- Create a deployer account used only for testing. Ethereum.org advises against reusing mainnet accounts on testnets.
- Get test ETH from a Sepolia faucet. It has no real value; never buy it.
- Get an RPC URL from your own node or an RPC provider.
- Store keys safely. Both toolchains offer encrypted storage instead of plain-text keys in
.envfiles:- Foundry: import a key with
cast wallet import, then deploy withforge script script/Deploy.s.sol --rpc-url $RPC_URL --broadcast --account deployer. Foundry’s docs label the keystore option “recommended” and passing a raw private key “not recommended”. Add--verifywith an Etherscan API key to publish the source code. - Hardhat 3: run
npx hardhat keystore set SEPOLIA_PRIVATE_KEY(andSEPOLIA_RPC_URL), then deploy your Ignition module withnpx hardhat ignition deploy ignition/modules/<Module>.ts --network sepolia.
- Foundry: import a key with
- Verify the contract on a block explorer so users can read the code.
Step 6: build the front end
Most dApp front ends are React or Next.js apps using:
- viem, a TypeScript library for reading contract data, encoding calls and sending transactions;
- wagmi, React hooks built on viem for connecting wallets, reading balances and writing to contracts;
- a wallet connection UI such as RainbowKit, which lists the wallets a user has installed (MetaMask, Rabby, mobile wallets via WalletConnect and so on).
The flow is always the same: the user connects a wallet, your app reads state through an RPC, and when the user acts, your app builds a transaction that the wallet shows to the user to approve and sign. Never ask users for their private key or seed phrase. Show clear transaction previews and handle pending, failed and rejected states.
Newer wallet features are worth planning for. Since Ethereum’s Pectra upgrade (May 2025), EIP-7702 lets ordinary wallet addresses act like smart accounts for a transaction, which enables batched approvals and sponsored gas. See the crypto wallet hub for how wallets work.
Step 7: audit, launch and maintain
Before mainnet:
- Get a review. For any contract that will hold user funds, an independent audit and a public bug bounty are standard practice. Our list of smart contract audit firms is a starting point.
- Secure admin keys with a multisig wallet and, ideally, a timelock on upgrades.
- Launch gradually, for example with deposit caps, and monitor events and balances after launch.
- Plan for incidents: a pause function, a way to contact users and a written response plan.
What it costs
Testnets are free. Deploying a small contract to a layer 2 typically costs little in gas; mainnet costs more and varies with gas fees. The larger costs are developer time, audits, RPC and indexing services, and hosting. Our Q&A on how much it costs to build a dApp breaks this down.
Risks and common mistakes
- Immutable bugs: a deployed bug can lock or lose funds permanently. Test, audit and limit early exposure.
- Leaked keys: committing a private key to Git, or using a funded mainnet key for testing, is one of the most common ways deployers lose money.
- Front-end attacks: compromised domains, DNS hijacks and malicious dependencies can make users sign harmful transactions even when the contracts are safe. Pin dependencies and protect your domain.
- Centralization: admin keys, upgradeable proxies and centralized RPCs or indexers are points of failure. Be honest with users about them.
- Regulation: depending on what your dApp does and where users are, securities, money-transmission or consumer rules may apply.
For more on how dApps are used once they’re live, see how to interact with dApps and the making a dApp topic hub.
Frequently asked questions
Can anyone build a dApp?
Yes. You need programming skills (usually JavaScript or TypeScript plus Solidity), a wallet and a small amount of the chain's native token to pay deployment fees. No permission is required to deploy a contract on a public blockchain.
How much does it cost to make a dApp?
Deploying a simple contract on an Ethereum layer 2 usually costs very little in gas, and testnets are free. The real costs are development time, security audits for anything holding user funds, RPC/indexing services and front-end hosting.
Should I use Foundry or Hardhat?
Both are actively maintained. Foundry is a fast Rust-based toolkit where tests are written in Solidity; Hardhat 3 is a Node.js environment that supports both Solidity and TypeScript tests and has a large plugin ecosystem. Many teams pick based on whether they prefer working in Solidity or TypeScript.
Which testnet should I use?
Sepolia is ethereum.org's recommended default testnet for application development. Hoodi is mainly for validator and protocol-upgrade testing. Most layer 2 networks also run their own Sepolia-based testnets.
Is Truffle still supported?
No. Consensys announced the sunset of Truffle and Ganache on September 21, 2023, ended support after 90 days and archived the codebases from December 20, 2023, pointing users to Hardhat. Use Foundry, Hardhat or Anvil (Foundry's local node) instead.
Sources
- ethereum.org: Networks (testnets)
- Foundry documentation: Getting started
- Foundry documentation: Deploying
- Hardhat 3 documentation: Getting started
- Hardhat documentation: Deployment and keystore
- Consensys: Consensys announces the sunset of Truffle and Ganache (Sep 21, 2023)
- Truffle repository (sunset notice)
- viem documentation
- OpenZeppelin Contracts
Educational content, not financial advice. DeFi carries risk, including total loss of funds.